How to Choose the Best Rechargeable Camping Light
Choosing a Rechargeable Camping Light is about more than comparing brightness numbers. A useful light should make routine camp tasks easier, from finding a zipper in the dark to checking a map beside a tent. Yet the brightest option is not always the best. Glare can make a small campsite uncomfortable, while a weak battery may fade before morning. Small details matter.
This guide explains how to compare brightness, battery capacity, charging options, weight, and weather resistance. It also considers beam shape and controls, because a simple switch can be easier to use with cold or tired hands. Look for clear product specifications, and treat vague runtime claims with care. Real use depends on the selected brightness, battery condition, and temperature. A rating alone cannot tell the whole story.
Think about where the light will sit, how long it must run, and whether you can recharge it during your trip. A compact lantern may suit a crowded tent, while a directional beam can help with cooking or walking nearby. No single design fits every camper. Even a well-reviewed light can disappoint if its charging cable is awkward or its lowest setting is too bright. That is worth reflecting on before buying. The sections ahead offer practical criteria for narrowing the choices and selecting a dependable light for your own camping habits.
Define Your Camping Needs and Intended Use
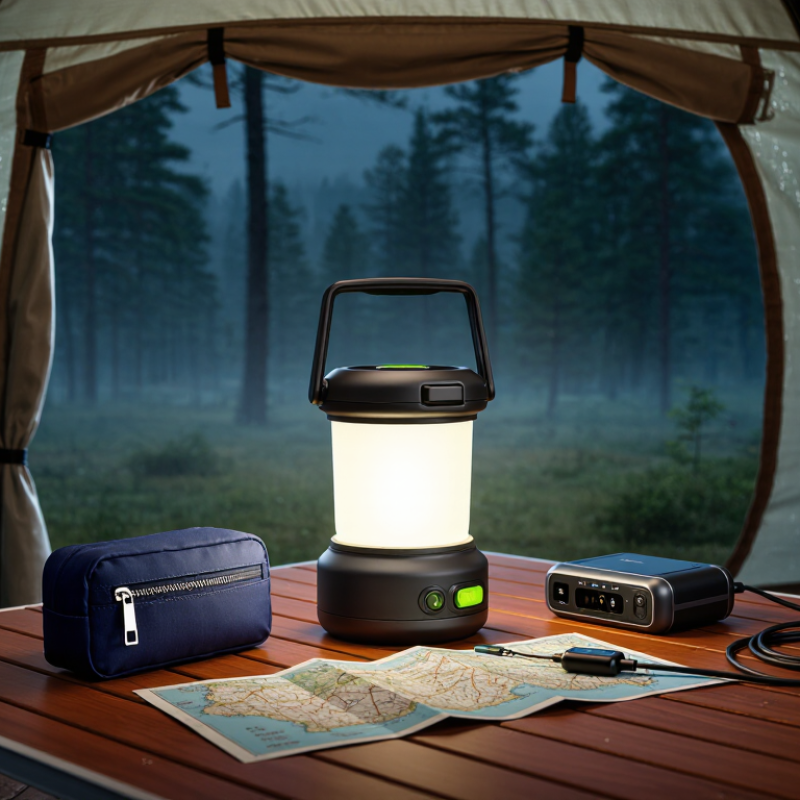
Define where the light will work before comparing brightness or battery capacity. A tent, picnic table, and trail require different beams. For reading, look for a steady, close-range glow. Cooking or sorting gear needs broader coverage. Walking after dark calls for a focused beam and secure, hands-free mounting. Start with context.
The 2024 North American Camping Report from Kampgrounds of America estimated that 58 million North American households camped in 2023. That figure signals a wide range of camping styles, not one standard lighting setup. A family at a powered campsite may value a lantern that illuminates a table for hours. A backpacker may prefer a compact light and accept fewer features to save space. Consider who needs the light, how often you will use it, and whether you can recharge it during the trip.
Check the rated runtime at the brightness you actually expect to use; maximum-output figures can mislead. Look for controls you can operate with cold hands, and a charging method that fits your trip. A weather-resistance rating matters when rain is likely, but it does not mean a light can be submerged. One planning detail is easy to miss: a bright lantern may disturb nearby campers. Your first estimate may be wrong, so allow a dim setting and flexible placement.
Compare Brightness, Beam Distance, and Lighting Modes
Brightness is usually listed in lumens, but a bigger number does not always mean a better camp light. A high setting can illuminate a cooking area, yet it may drain the battery quickly and feel harsh inside a tent. Check whether the light offers lower output for reading or late-night movement. A soft, steady glow is often more useful than maximum brightness.
Beam distance describes how far the light can reach, while beam shape shows how wide an area it covers. A focused beam can help you spot a trail marker beyond camp, but it may leave nearby gear in shadow. A broad beam spreads light across a picnic table or tent floor. Compare both figures when available, and consider where you will actually use the light. Numbers alone can be misleading.
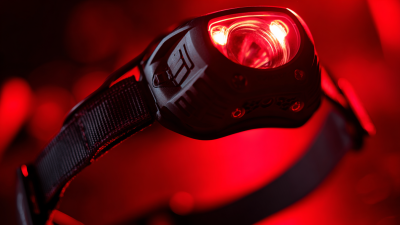
Lighting modes add flexibility, but more options are not automatically better. Look for practical settings such as low, medium, and high, plus a red or warm option if you want less glare at night. Strobe modes may matter less for ordinary campsite use. Check whether the light remembers your last setting; cycling through several modes in the dark gets annoying. Even a careful comparison can miss something: test the beam at home, where you can see how it handles real objects and shadows.
Evaluate Battery Capacity, Runtime, and Charging Options
How to Choose the Best Rechargeable Camping Light
Battery capacity, listed in milliamp-hours, gives a useful starting point, not a runtime guarantee. A 5,000mAh light may last all evening on low, yet drain quickly at full brightness. Check the maker’s runtime figures at different settings, then match them to your plans. For a weekend trip, consider how many hours you need each night and whether cold weather could reduce battery performance. Small print matters.
Tips: Test the light at your usual brightness before leaving. Pack a charged power bank if the light supports USB recharging. A clear battery indicator helps; vague lights can leave you guessing after dark.
Compare charging options as carefully as capacity. USB-C can be convenient when it matches your other gear, while a built-in solar panel may offer a slow top-up in direct sun. Check how long a full charge takes and whether the light can operate while charging. If you rely on a power bank, verify that its output is compatible. One detail is easy to overlook: a long advertised runtime may refer to the dimmest setting, which might not suit cooking or setting up a tent. Choose figures that reflect how you will actually use the light.
Choose a Light Design That Fits Your Budget and Packing Needs
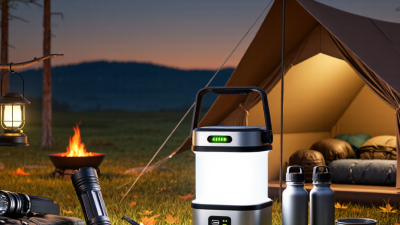
Price matters, but the light’s shape determines how easily it fits your trips. A compact lantern spreads soft light across a picnic table, while a headlamp keeps both hands free for cooking or pitching a tent. A small flashlight takes little space, though its narrow beam is less useful for lighting a shared area. Small trade-offs.
Set a budget around the features you will actually use. Compare weight, charging time, and stated runtime at different brightness levels; the brightest setting often drains a battery faster. A built-in rechargeable battery keeps packing simple, while a model with replaceable cells may suit longer trips without reliable charging. Check the charging port and weather-resistance details before buying, since damp gear and loose covers can be an annoying combination.
Think about where the light will ride: inside a crowded backpack, clipped to a strap, or in a car’s glove compartment. A folding handle or hanging hook can make a slightly larger lantern more versatile, but extra parts add bulk. I still tend to pack more lighting than I need. For a weekend, one dependable light and a small backup may be easier to manage than several specialized options. Choose the design that matches your usual campsite, not an imagined perfect trip.
How to Choose the Best Rechargeable Camping Light
Compare approximate entry-level prices and packed weights to find a light that fits your budget and packing needs.
Planning estimates in USD and grams; actual prices and weights vary by model. Check product specifications before buying. Headlamps suit hands-free use, while lanterns and string lights provide broader campsite illumination.